
And heeeeeeere's my latest!


My secret to sewing this so well is just to press, press, press! And pin. This fabric stayed put very nicely and I was even able to make the nice little pointy corner this time on a placket.
I found that clipping into my seam allowances on the edge of the pointed placket really helped me when pressing it all flat. I was able to fold a ton better. I don't know if anyone else does this as I haven't seen anything on anyone else's blogs but it sure is a handy hint.
Below, the small red marks are my slash lines where I cut up to the seam allowance. The long red line is where the facing piece connects to the edge of the under placket.
 As you can see, it's really helpful to have a facing attached to the placket. Initially, I have it designed so that a lining can be inserted all around the placket facing, but I went ahead and omitted the lining since it wasn't needed on this top. It still worked perfectly!
This is what the inside looks like in fabric-form:
 One side of the placket (the underside) is orange. I picked up this idea while making my last Tunic Top, thanks to a suggestion from the boyfriend.
 Beautiful placket!
I'm getting pretty excited about working on the PDF pattern soon. I'm so surprised about the response to the Petra dress! I thought for sure it would be the Sunrise dress.
Don't worry though - it you like any of the three designs I posted, they will likely end up PDFs in the near-future. I've been wanting to take Manic Pop down the PDF road for over 6 months and I think I have gotten enough self-made garments out of my system to start on this task.
Plus, as a person I am not a machine. While it's respectable to churn out garments or other sewn items and a prolific rate; that is simply not me. Sewing is personally not my strong suit, although I find my pattern design work to be on-point consistently with minimal corrections. I do however want to share my design work with the world, no matter how many or few it may be and digital patterns are the most exciting way to share my work with others right now. I've always loved when people customize things I've made in their own way! And that's what the PDFs are doing.
Yay!
And now I leave you with this song, for a super cold winter day like tomorrow:

I had been wanting to make a top of some sort for myself out of this leftover fabric for a long time now. You might recognize the fabric as the vintage fabric I used for the Sweetheart Dress (below) which was sold in June. This fabric is soooo soft!


The patterns I used for this top were the Judy dress patterns I made back in April. I just shortened the length on the pattern to allow for a top this time. The result is this fun, swingy top!


I don't pop my collars, but if I did... this would be the one to do it with!
My only slight qualm about this top is the sleeves. I made cap sleeves to go with it, but yet again forgot to account for my larger arm width. The result is liveable, but will be edited next time around. This is why in general I tend to buy sleeveless everything because even for a 5 foot girl, I have much larger arms than one would think! My mom has the exact same problem.
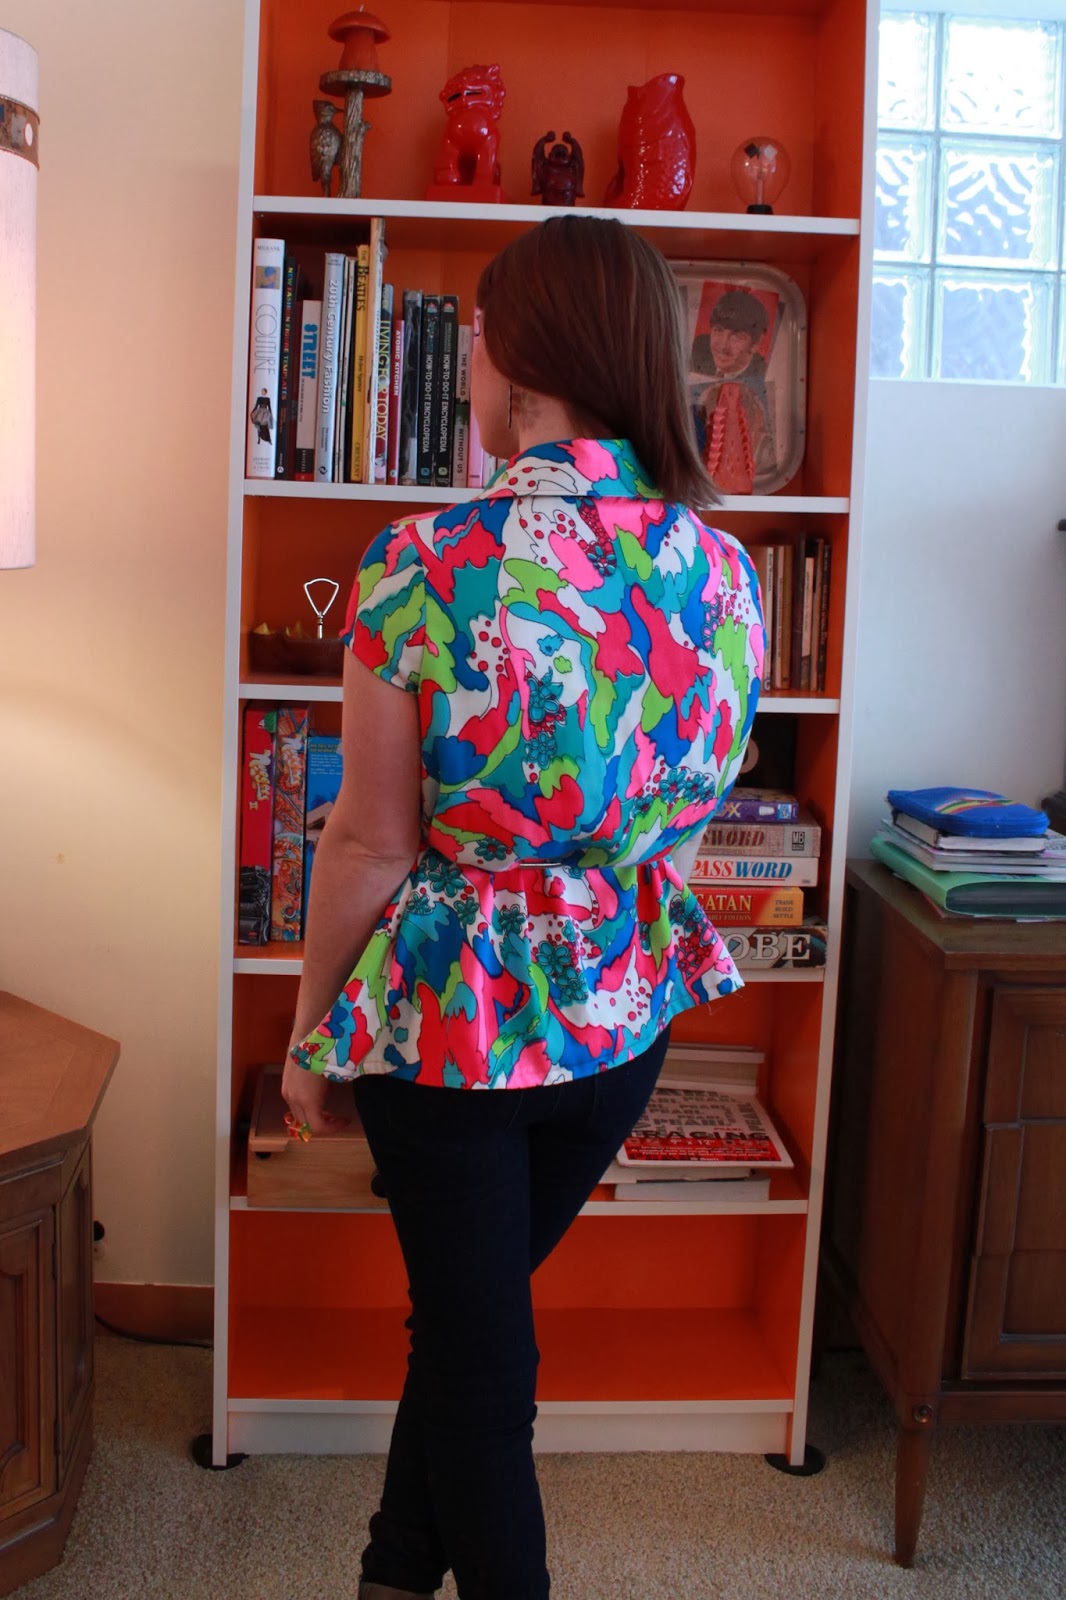
The back isn't super special but here it is, belted.

And a sort of side view.
I know, I know. I should be outside getting "natural light" but this is the scene upon the neighborhood today:

It snowed a good 10 inches last night and the temperature is steadily dropping. It's currently only 14F out right now and tomorrow it's expected to be a HIGH of -10. Yes, NEGATIVE TEN. With the windchill, they're saying it will feel like -40F.
 It's also my first day back to work after 2 weeks for the holiday break.

Anyway.... let's talk about the placket, which I am most proud of!

My secret to sewing this so well is just to press, press, press! And pin. This fabric stayed put very nicely and I was even able to make the nice little pointy corner this time on a placket.
I found that clipping into my seam allowances on the edge of the pointed placket really helped me when pressing it all flat. I was able to fold a ton better. I don't know if anyone else does this as I haven't seen anything on anyone else's blogs but it sure is a handy hint.
Below, the small red marks are my slash lines where I cut up to the seam allowance. The long red line is where the facing piece connects to the edge of the under placket.

This is what the inside looks like in fabric-form:
I'm getting pretty excited about working on the PDF pattern soon. I'm so surprised about the response to the Petra dress! I thought for sure it would be the Sunrise dress.
Don't worry though - it you like any of the three designs I posted, they will likely end up PDFs in the near-future. I've been wanting to take Manic Pop down the PDF road for over 6 months and I think I have gotten enough self-made garments out of my system to start on this task.
Plus, as a person I am not a machine. While it's respectable to churn out garments or other sewn items and a prolific rate; that is simply not me. Sewing is personally not my strong suit, although I find my pattern design work to be on-point consistently with minimal corrections. I do however want to share my design work with the world, no matter how many or few it may be and digital patterns are the most exciting way to share my work with others right now. I've always loved when people customize things I've made in their own way! And that's what the PDFs are doing.
Yay!
And now I leave you with this song, for a super cold winter day like tomorrow:
wow! look at all that snow, and of course check out your top! All that effort spent on the placket at really paid off! Ive never made a placket, or much less a collar in this style. great work!
ReplyDeleteI love it when I conquer sewing challenges like plackets - it brings so much joy! I recently successfully executed an exposed zip, and now I whenever I wear the outfit with the zip I can't help but show people my achievement. They mostly think I'm crazy, but I don't care - so well done!
ReplyDeleteYou're not crazy! It's exciting when things come together nicely!
Delete